Independent & Unbiased
Founded in 2017, Pickleball Portal is one of the original pickleball content sites — built before the sport went mainstream. Our reviews are written by 14 independent contributors who play competitively and test gear firsthand. We may earn a small commission through affiliate links, but this never influences our recommendations. You pay nothing extra.
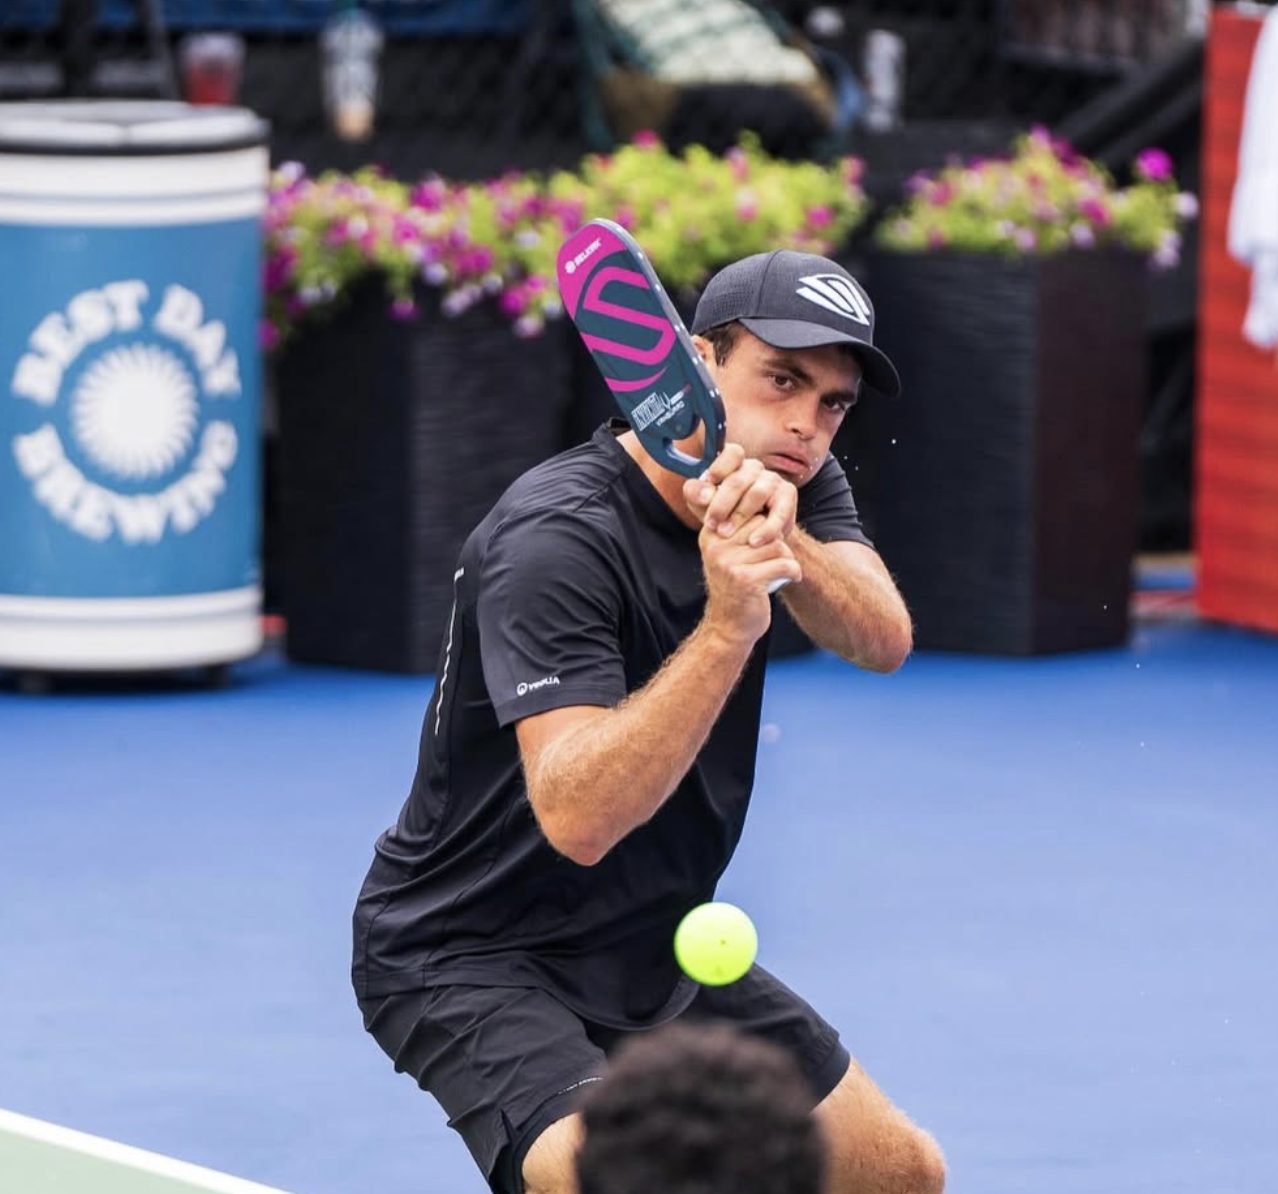
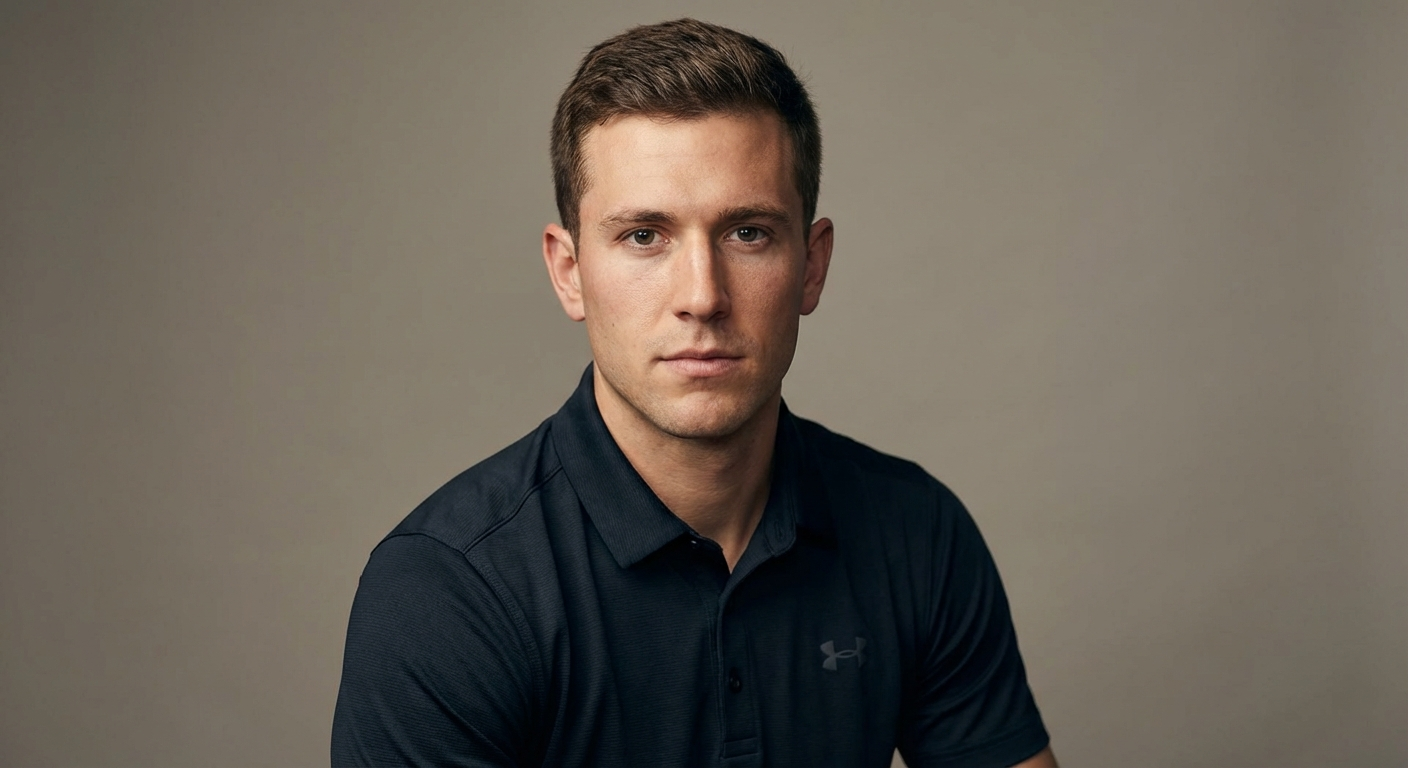
Picture James Ignatowich
Hey guys, it’s John from John Cincola Pickleball. Do you want to develop a killer two-handed backhand? Well, today’s your lucky day! I’m going to walk you through a six-step progression that’s so simple even an 8-year-old can learn it in just 20 minutes. Trust me, this is the guide you’ve been looking for to take your backhand from zero to hero.
Why the Two-Handed Backhand?
I’ve been reading your comments, and over and over, you’ve been asking for tips on the two-handed backhand. So here it is, just for you!
Step 1: Build Feel in the Left Hand (No Paddle Needed)
We’re starting super simple here, so put that paddle down for now. This is all about building feel in your left hand because, for a two-handed backhand, the left hand does a lot of the work.
Here’s what to do:
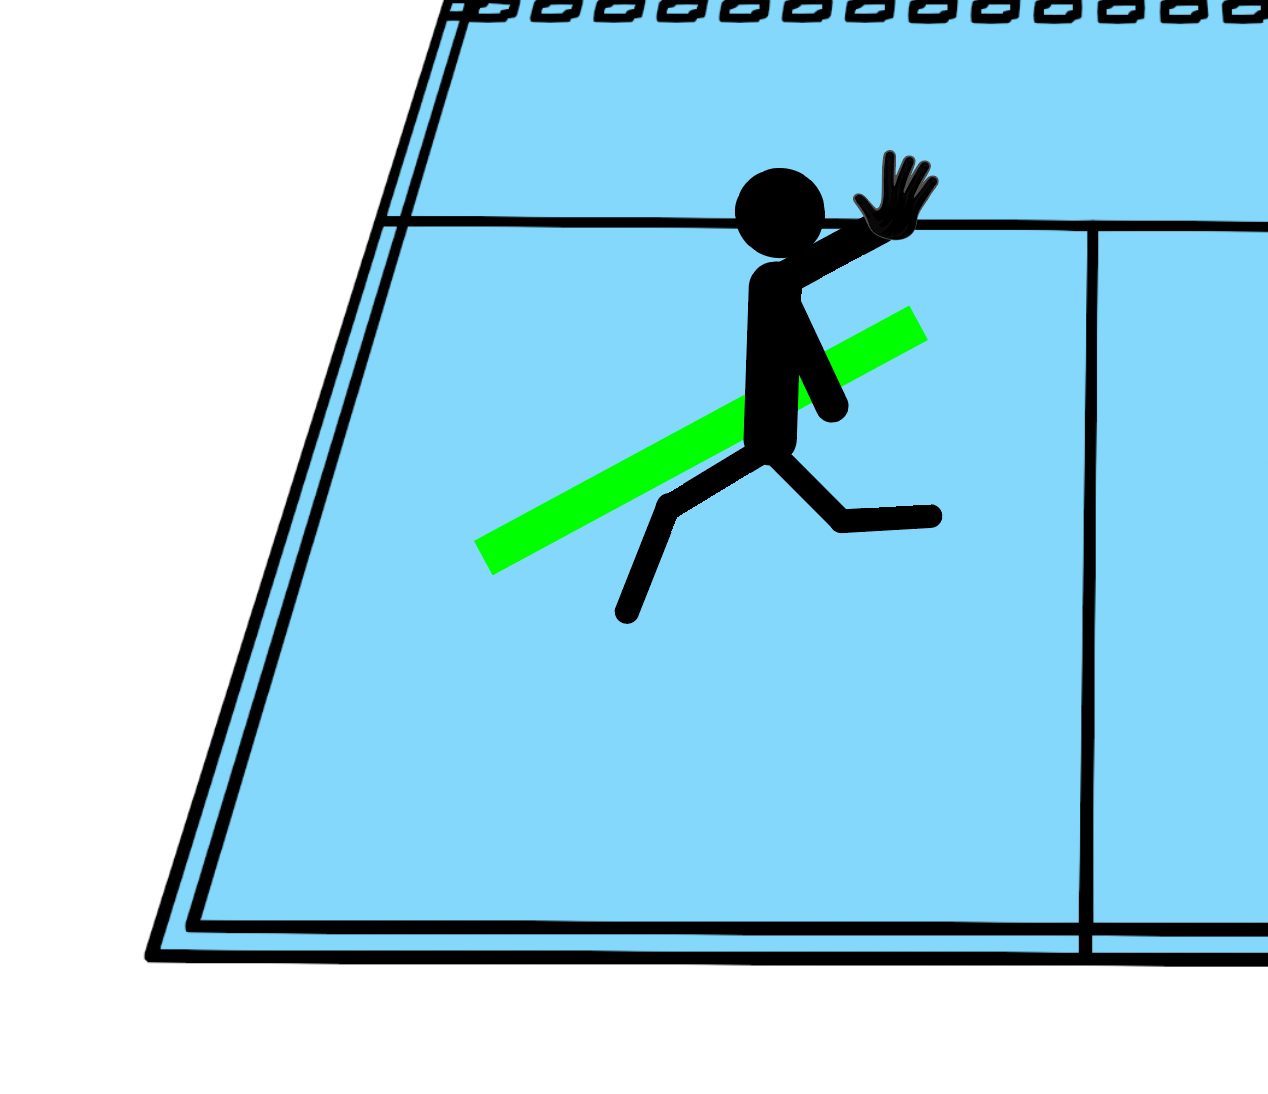
Stand at a 45° angle to your target (figure 1). You can mark this on the ground with some cones or something to make it easier.
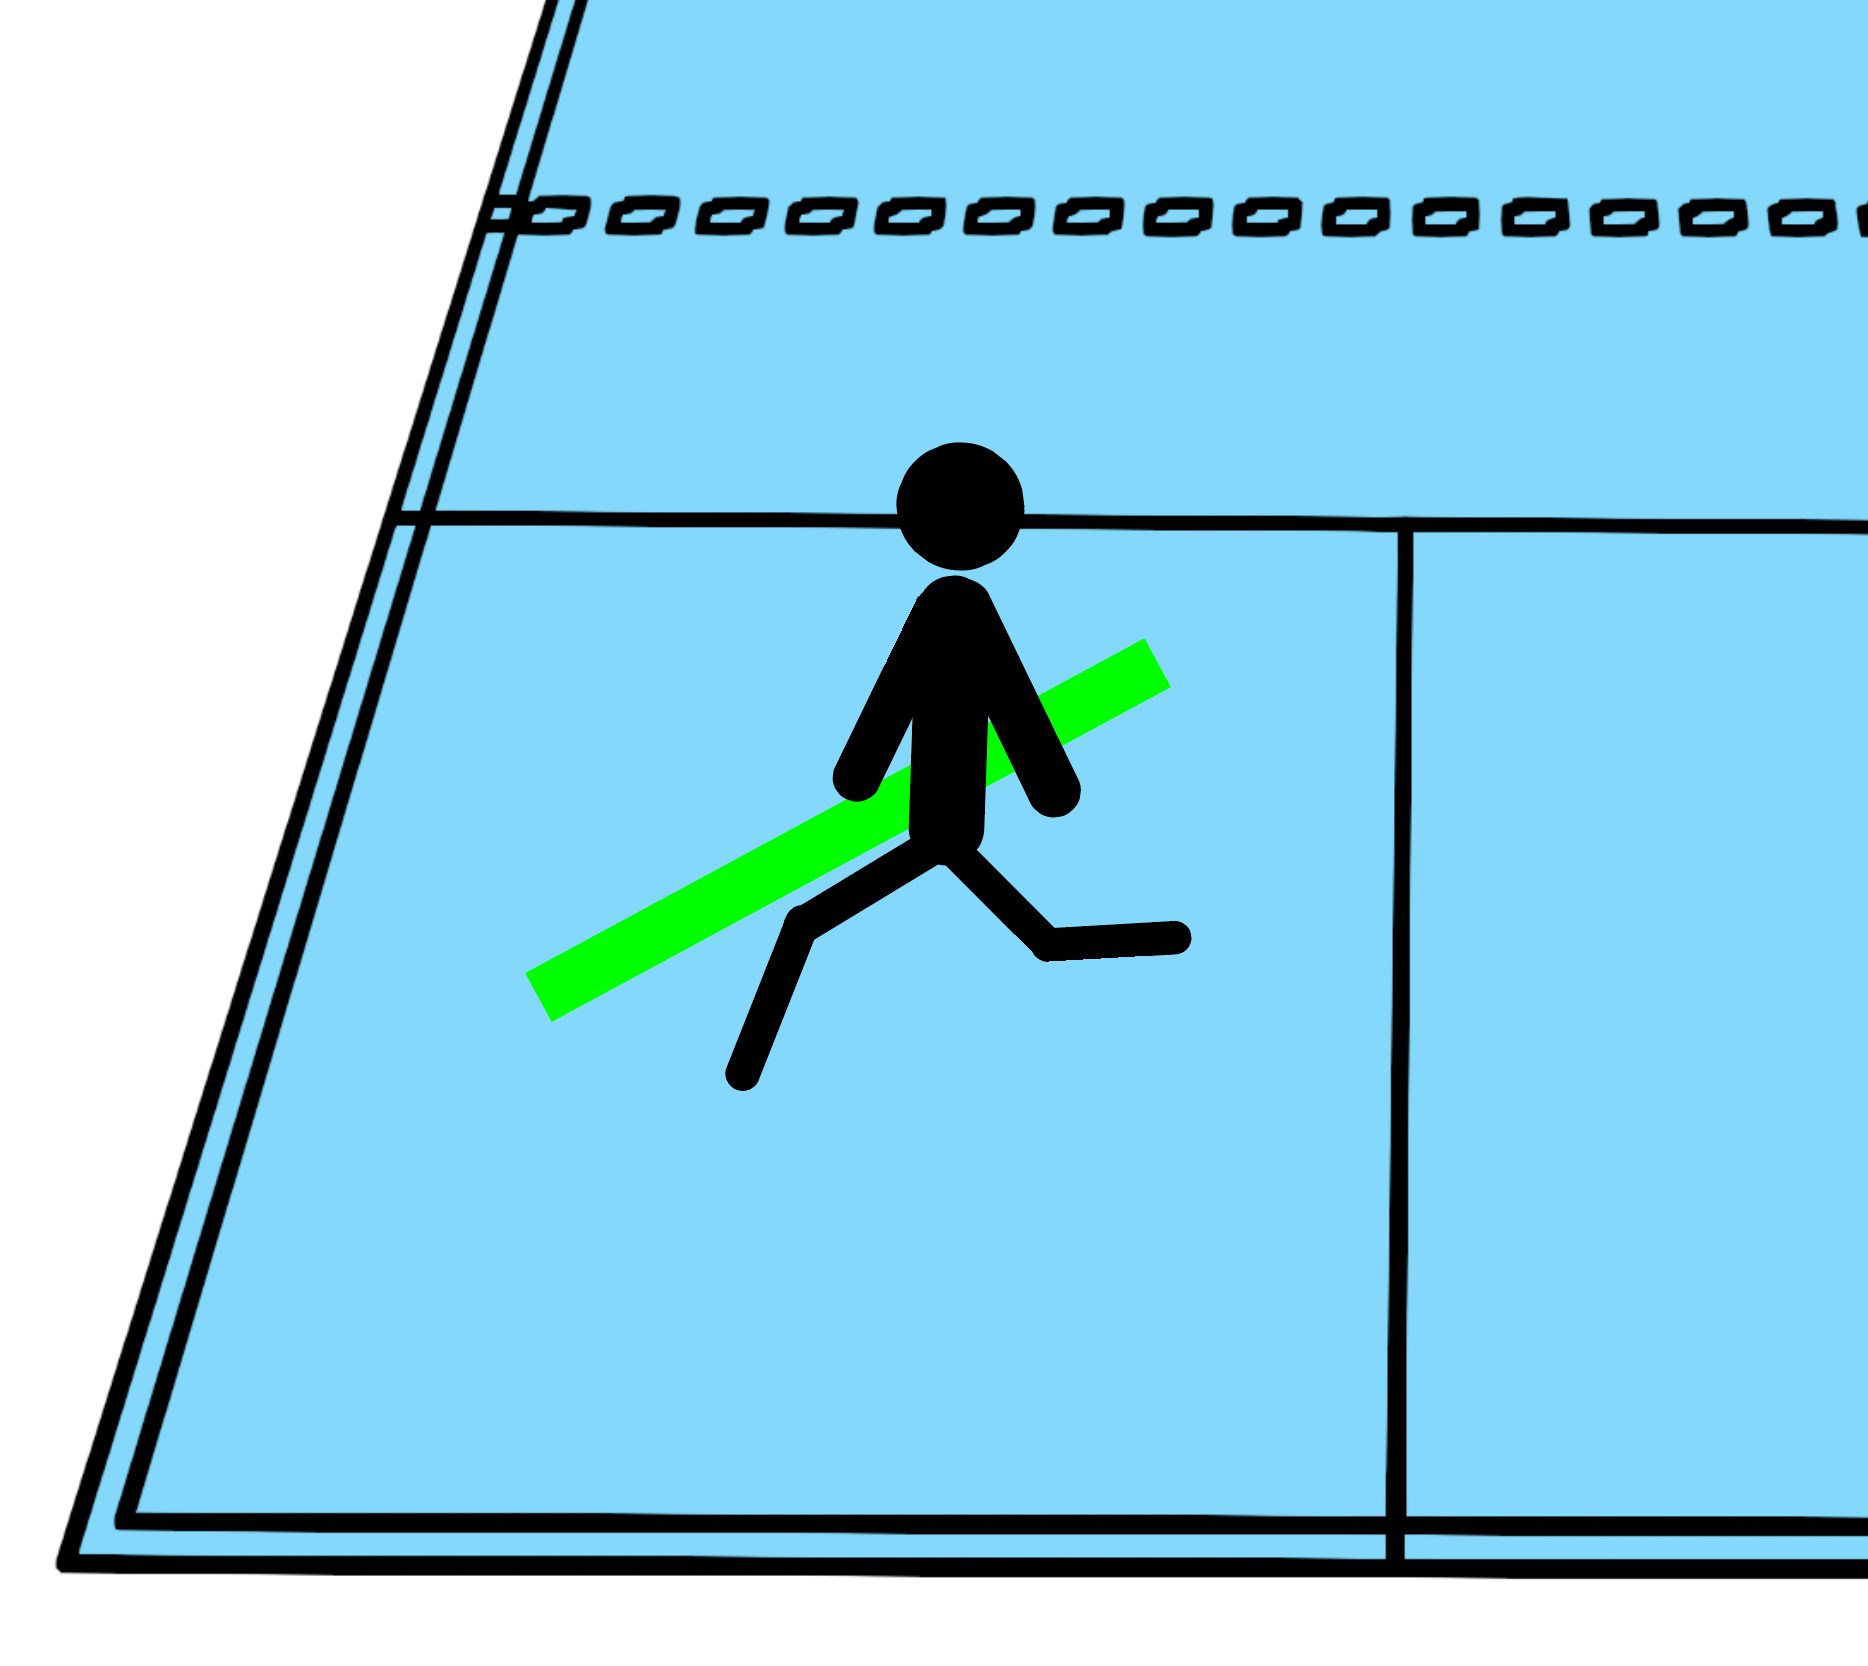
45 degree angle in green (figure 1).
Place your left hand down next to your left hip with your fingers pointing back and your palm facing down. This is Position One (figure 2).
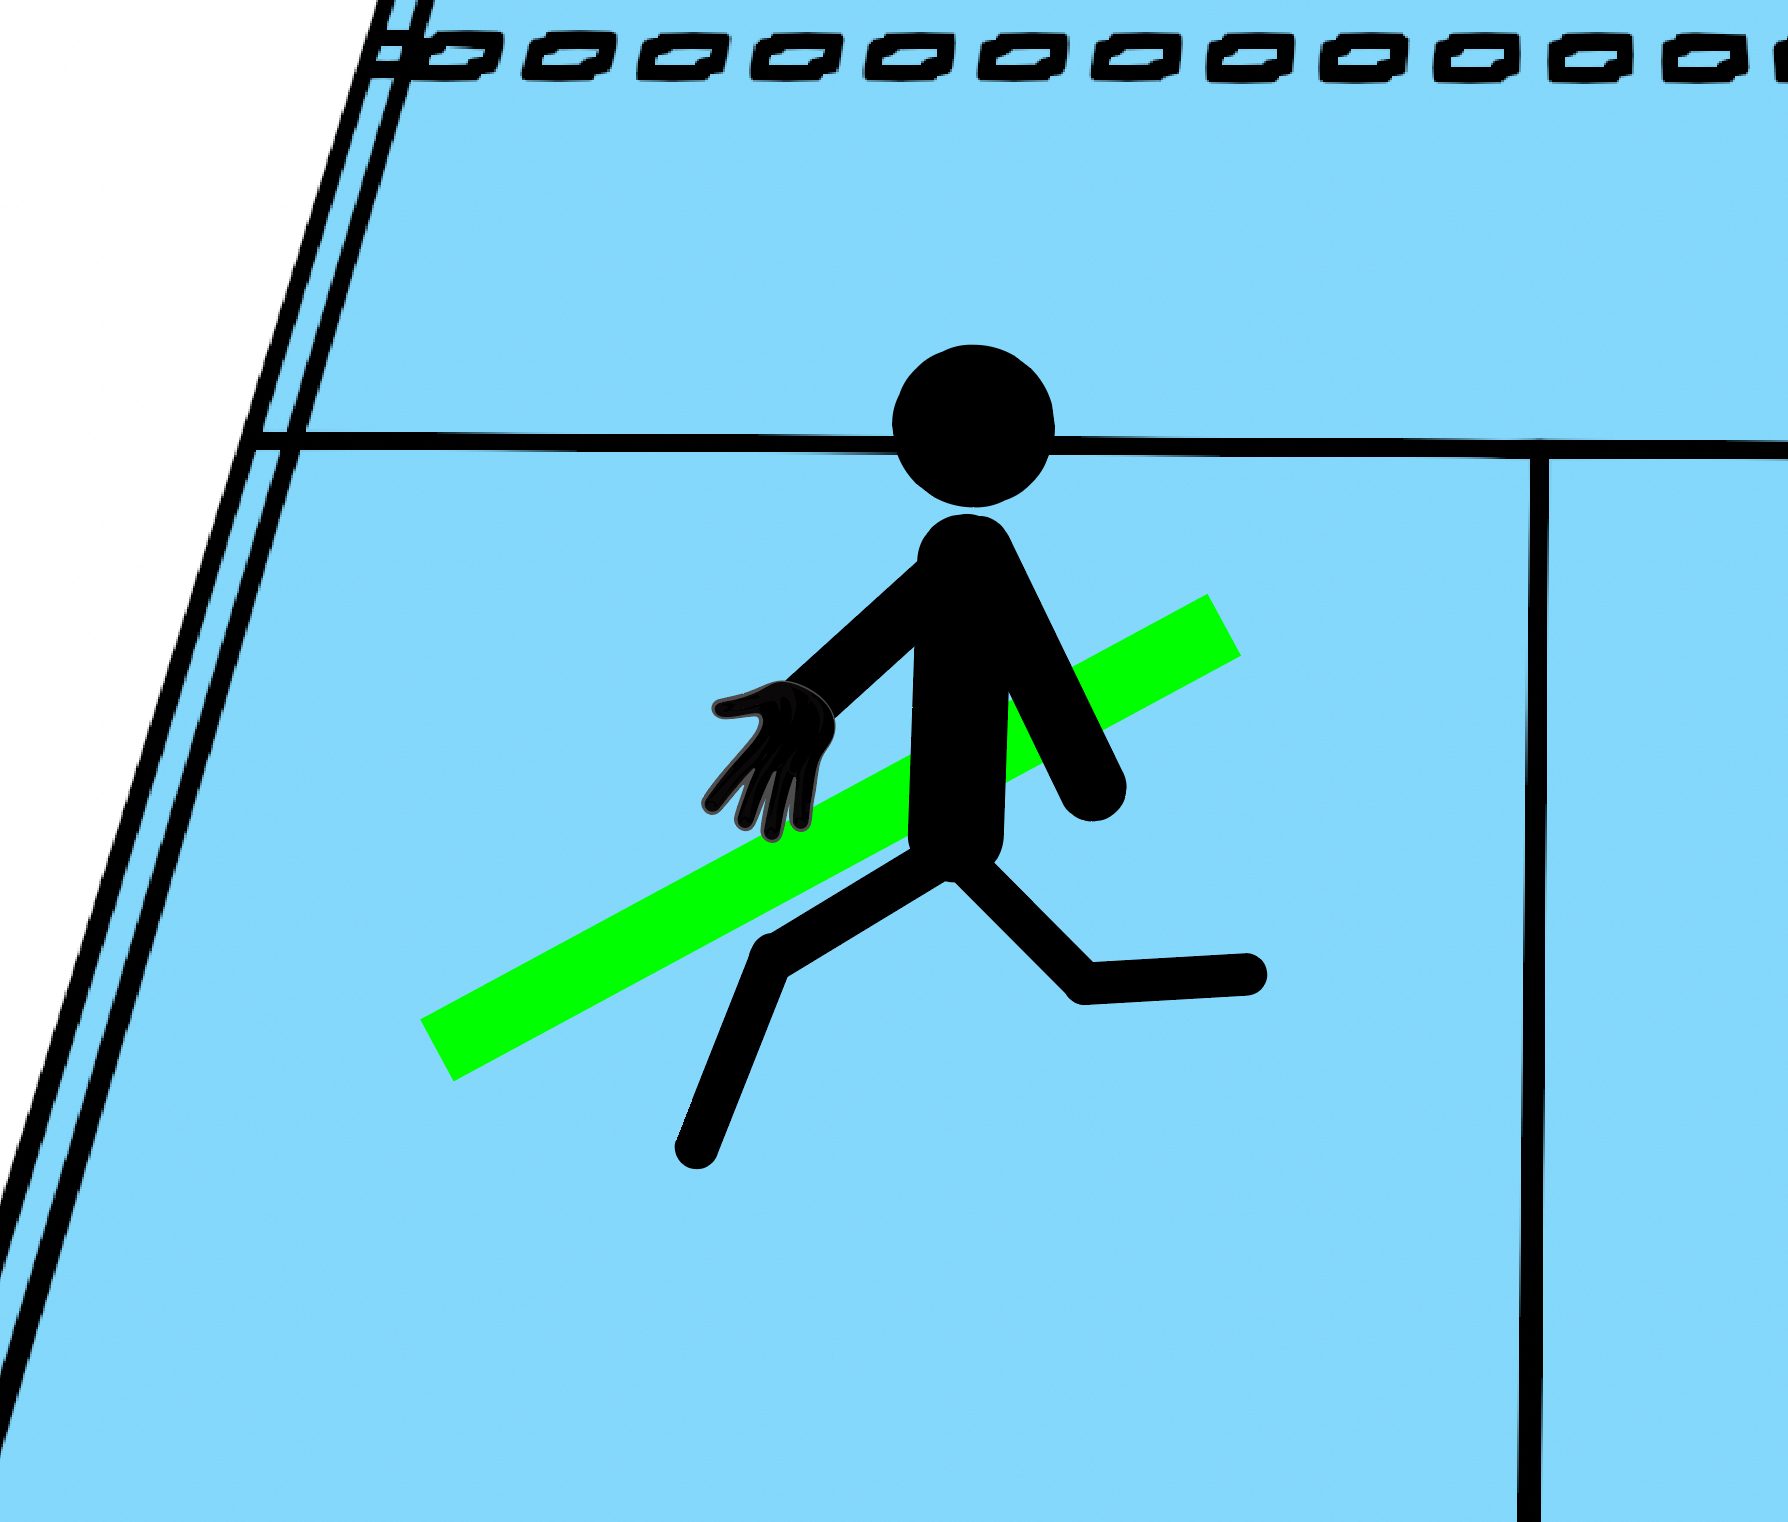
(figure 2)
Move to Position Two: your palm faces forward, and your fingers point sideways—this is your contact point (figure 3).
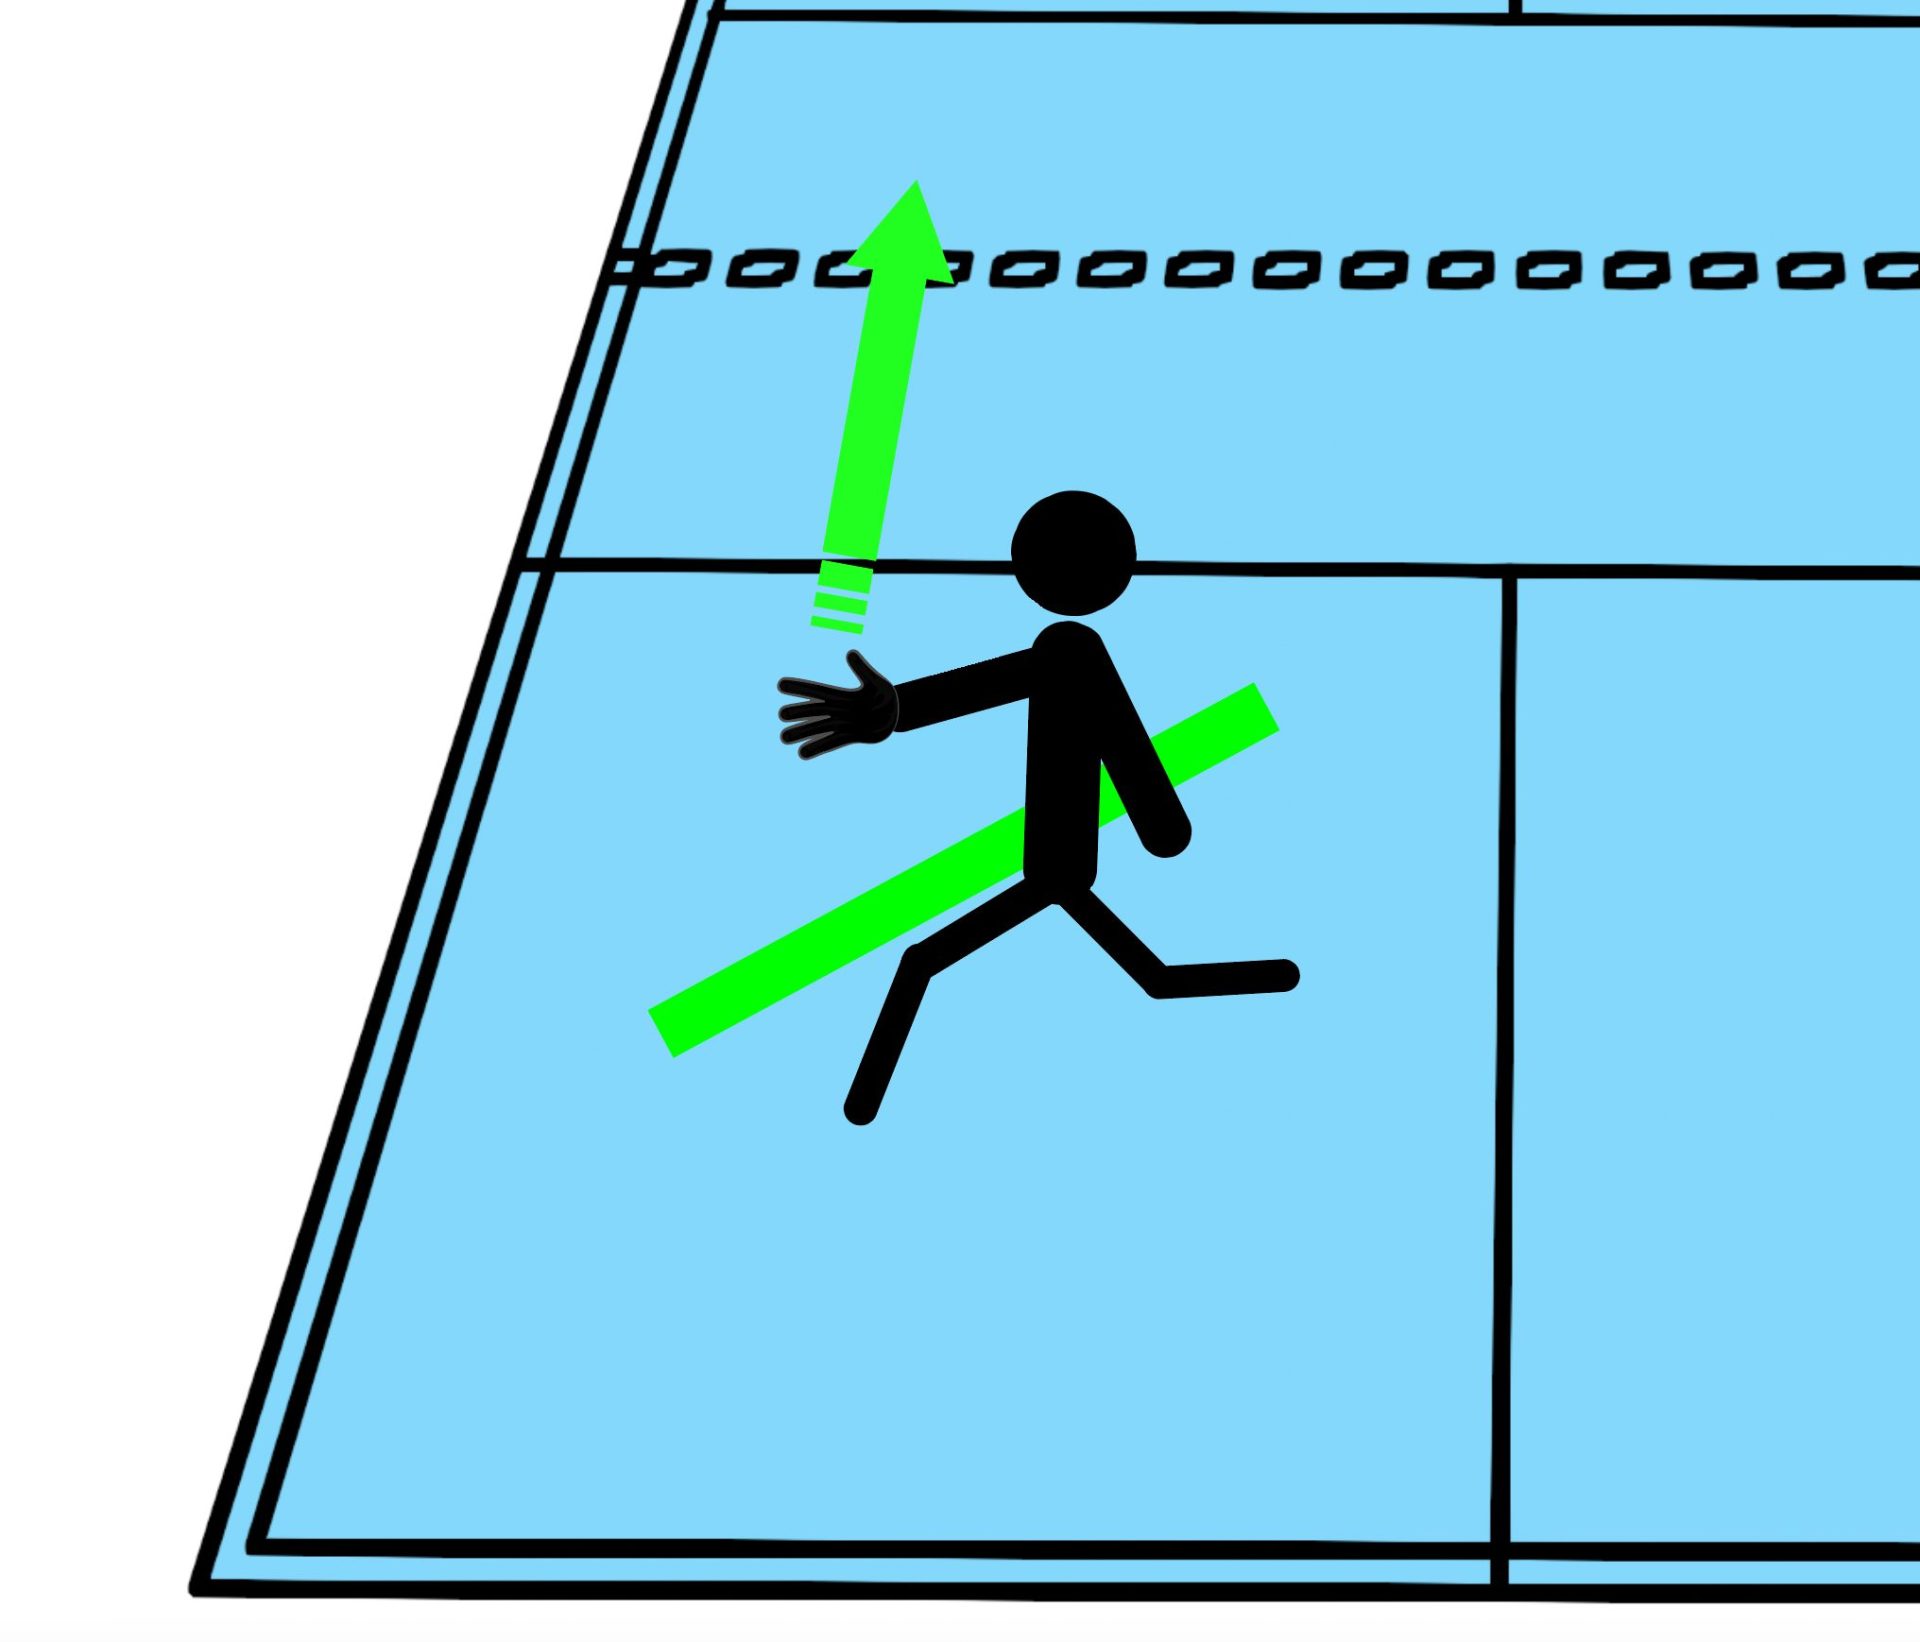
(figure 3)
Finally, rotate to Position Three: your palm faces back, and your fingers point up (figure 4).
(figure 4)
Now, practice that sequence a few times.
Step 2: Add the Paddle
Now we’re bringing in the paddle, but don’t worry—we’re keeping it simple. You’ll use the same positions you just practiced.
- Position One: Hold the paddle in your left hand, and if you opened your hand, your fingers should still face back.
- Position Two: Contact point with the paddle.
- Position Three: Finish with your paddle facing back, just like your palm before.
Go through the sequence a few more times to lock in the feel.
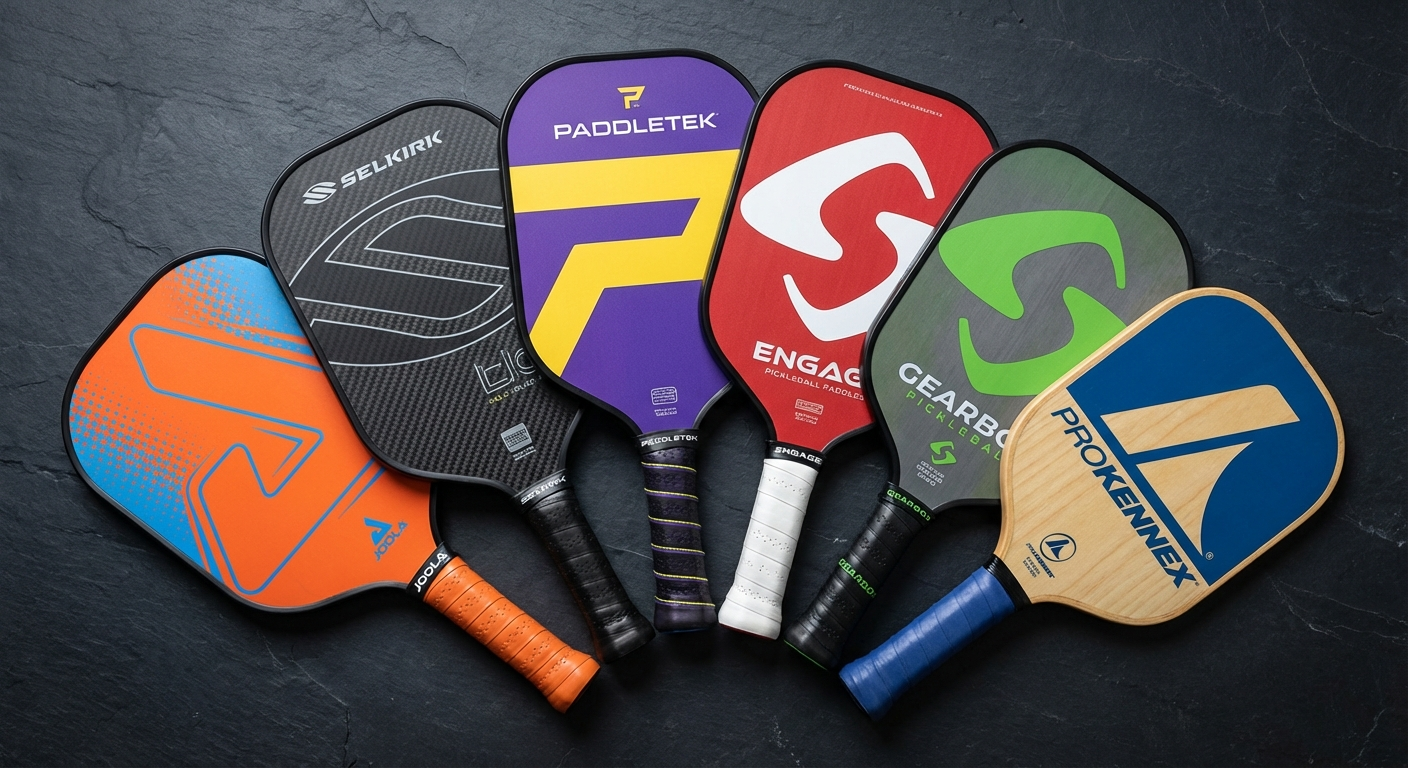
How To Choose a Pickleball Paddle: The Complete Buyer's Guide (2026)
Step 3: Practice with a Drop Hit
Time to add a ball! This is where it gets exciting. Still using only your left hand, you’ll practice a drop hit.
Here’s how:
- Start in Position One with your paddle ready.
- Drop the ball in front of you and hit it, moving through Positions Two and Three as you swing.
- Check your starting and finishing positions to make sure they’re correct.
What should you look for? Topspin. When you brush up on the ball, you should see it roll forward. That’s your sign that you’re hitting it correctly. Keep practicing until you’re getting that consistent topspin.

Step 4: Use a Partner or Ball Machine
Now we’re adding some movement! Grab a partner or use a ball machine to feed you soft balls. This step builds your timing and control.
- Start in Position One with your left hand ready.
- Your partner will toss the ball softly, and you’ll hit it using the same sequence.
- Focus on finishing in Position Three with good topspin.
The goal here is to start adapting to moving balls while keeping your form intact.
Step 5: Add the Right Hand
Okay, now it’s time to bring in the right hand. But here’s the catch: your right hand is just along for the ride. Keep it soft and light on the paddle.
- Place your right hand gently on the paddle. It should feel like it’s barely holding on.
- Swing just like you’ve been practicing, with your left hand still doing most of the work.
If it feels like your right hand is taking over, ease up on your grip.
Find Your Perfect Paddle
Take our 60-second quiz and get matched with your ideal paddle
Step 6: Add Speed and Distance
Now we put it all together and add some speed. As you move farther back on the court, the key is to rotate your body faster—not take a bigger backswing.
- Start in the midcourt or transition area and hit a few balls with your two-handed backhand.
- Gradually move back to the baseline, increasing your swing speed as you go.
Remember: it’s the same swing no matter where you are on the court.
Final Thoughts
There you have it—six simple steps to develop a killer two-handed backhand. Follow these steps, practice regularly, and watch your backhand transform. Don’t forget to look for that topspin and keep building up your speed and control.

Thanks for reading and practicing with us. Be sure to take a screenshot of these steps so you have a quick guide handy. See you next time!
For exclusive content and full-version tutorials, make sure to check out my YouTube channel, ➡️ John Cincola Pickleball.
About John Cincola
Pickleball Portal Contributor
John Cincola is a contributor to Pickleball Portal, sharing insights and expertise to help players of all levels improve their game.